How To: Succulents In Chalk Paint Pots
My other hobby, besides style and capsule wardrobes, is container gardening. I love plants of all kinds. For many years I’ve always had at least one plant in my house. One time I found a houseplant that looked like it was on it’s last days, but I took it home, revived it and lived for quite some time. I’ve always been a fan of the summer flowering kinds, like geraniums, petunias and periwinkles just to name a few. But, my favorites are houseplants.
Lately, I have been wanting to try my hand at growing succulents. I have never known much about them until now. I went to a trusted source in researching: Pinterest. I looked up “how to grow succulents.” Ok, I read up all about how to grow them. Now, I actually wanted to plant some. But I didn’t have any containers small enough to plant them in. I set off to my local Lowe’s to purchase a few succulents and hopefully find some small pots. Ah ha! I found just the right size, and cheap too! But, the traditional terra cotta color wouldn’t go with anything in my house. I remembered that I had purchased a small container of Annie Sloan Chalk Paint for a project I never got around doing. It was an ivory color and would go perfectly in my office by my window!
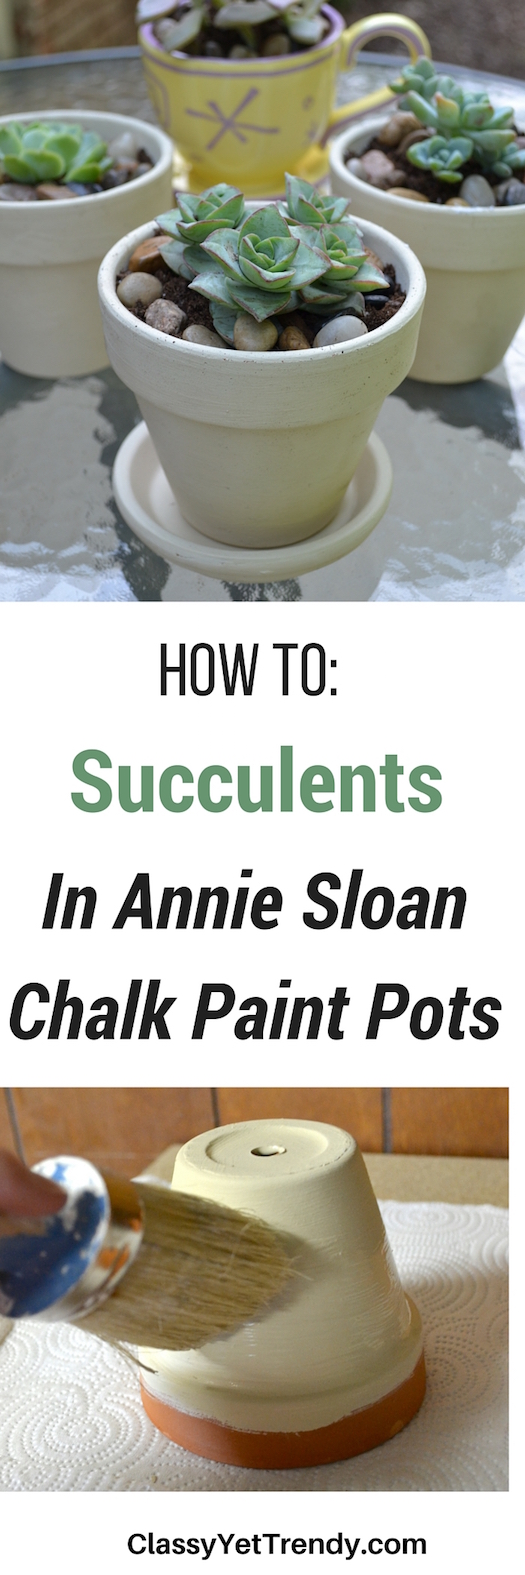
Here’s a little tutorial on how to paint pots with Annie Sloan Chalk Paint to match your decor and how to plant the succulents so they will thrive.
First, gather your supplies:
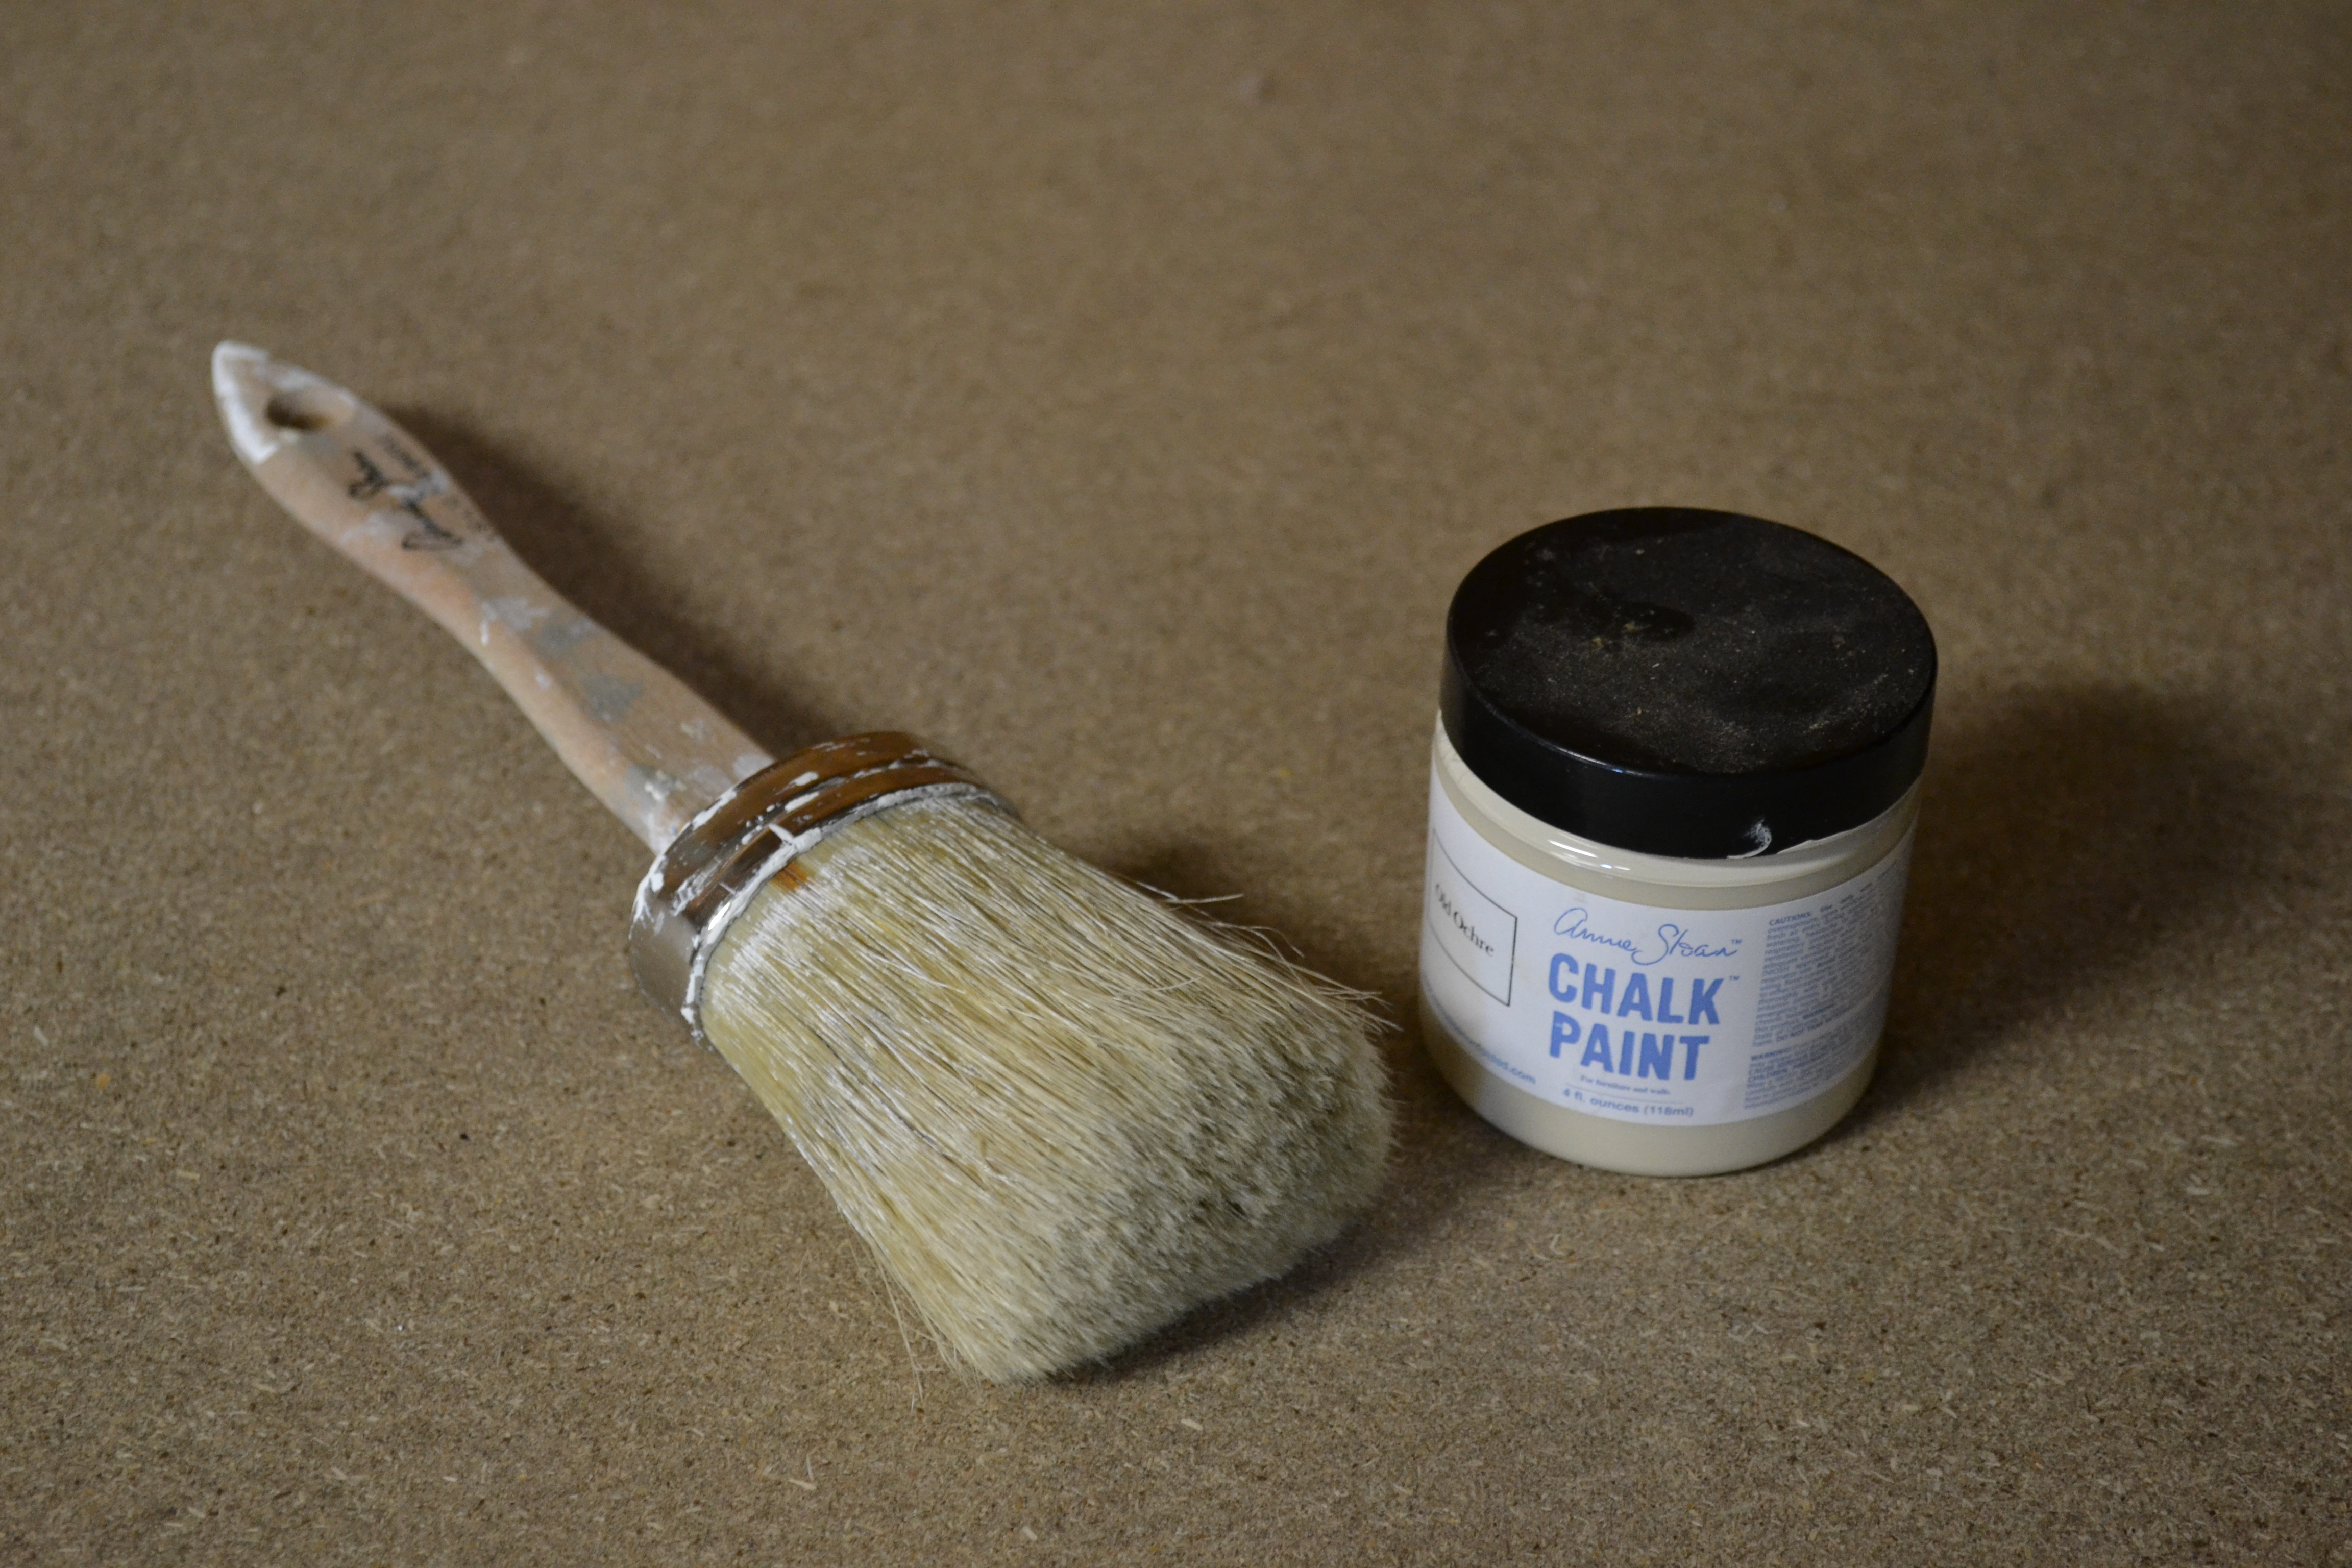
chalk paint round brush
Small jar of Annie Sloan Chalk Paint (find a retailer near you) (I used the color “Old Ochre”) (see all colors here)
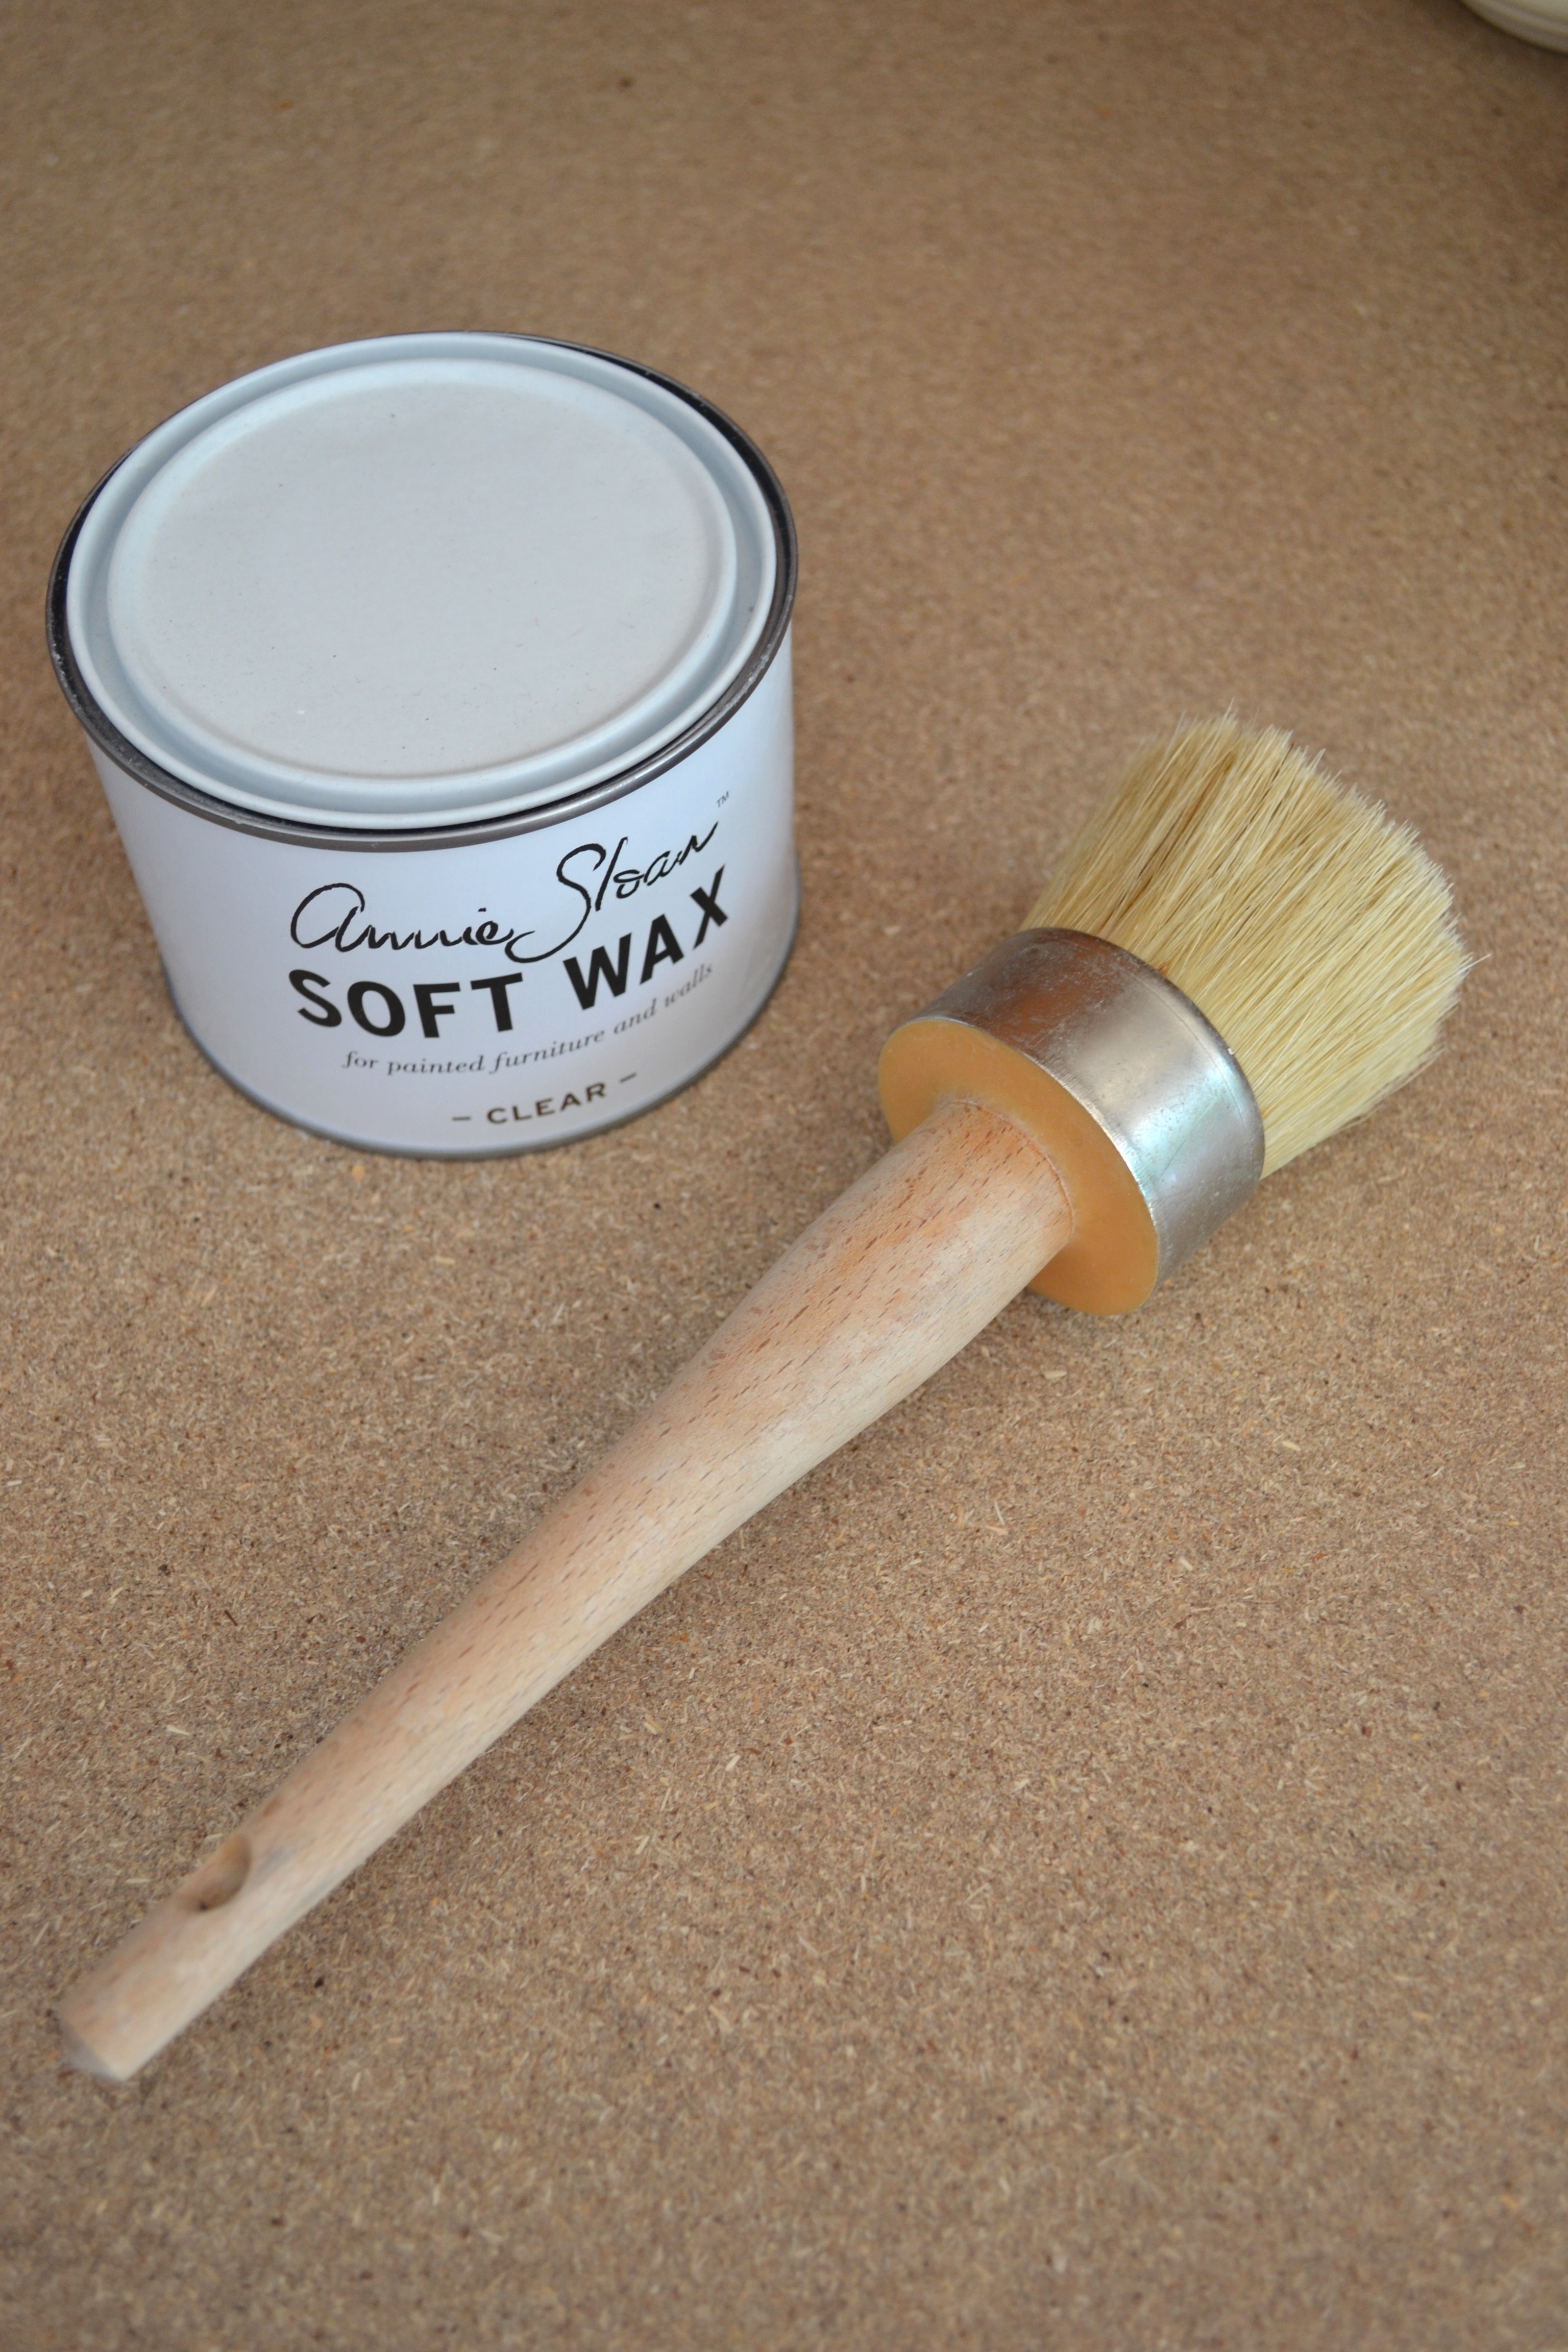
chalk paint wax brush
Container of Annie Sloan Clear Wax (find a retailer near you)
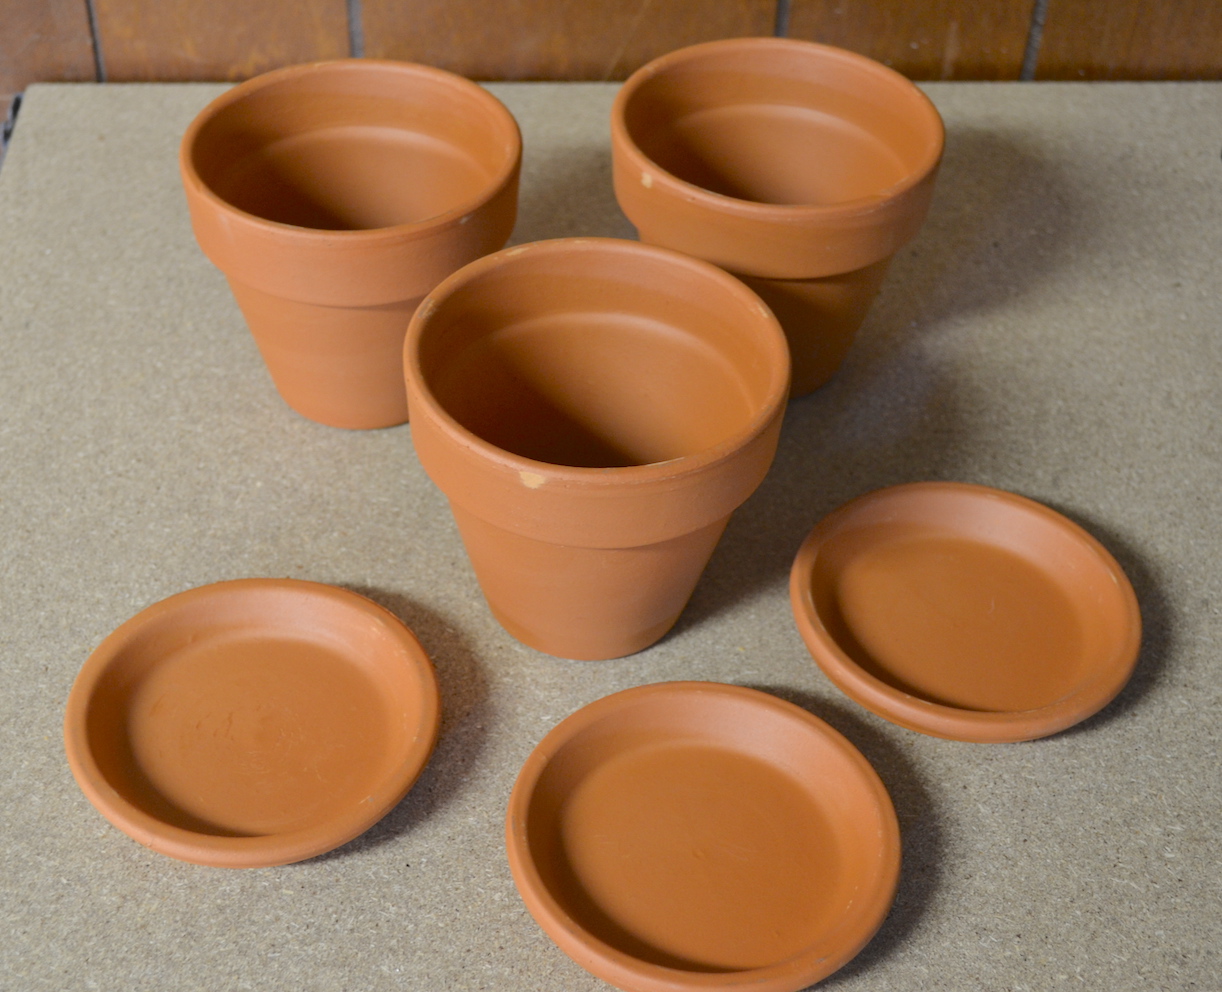
terra cotta pots & trays (I used one for each succulent plant)
paper towels
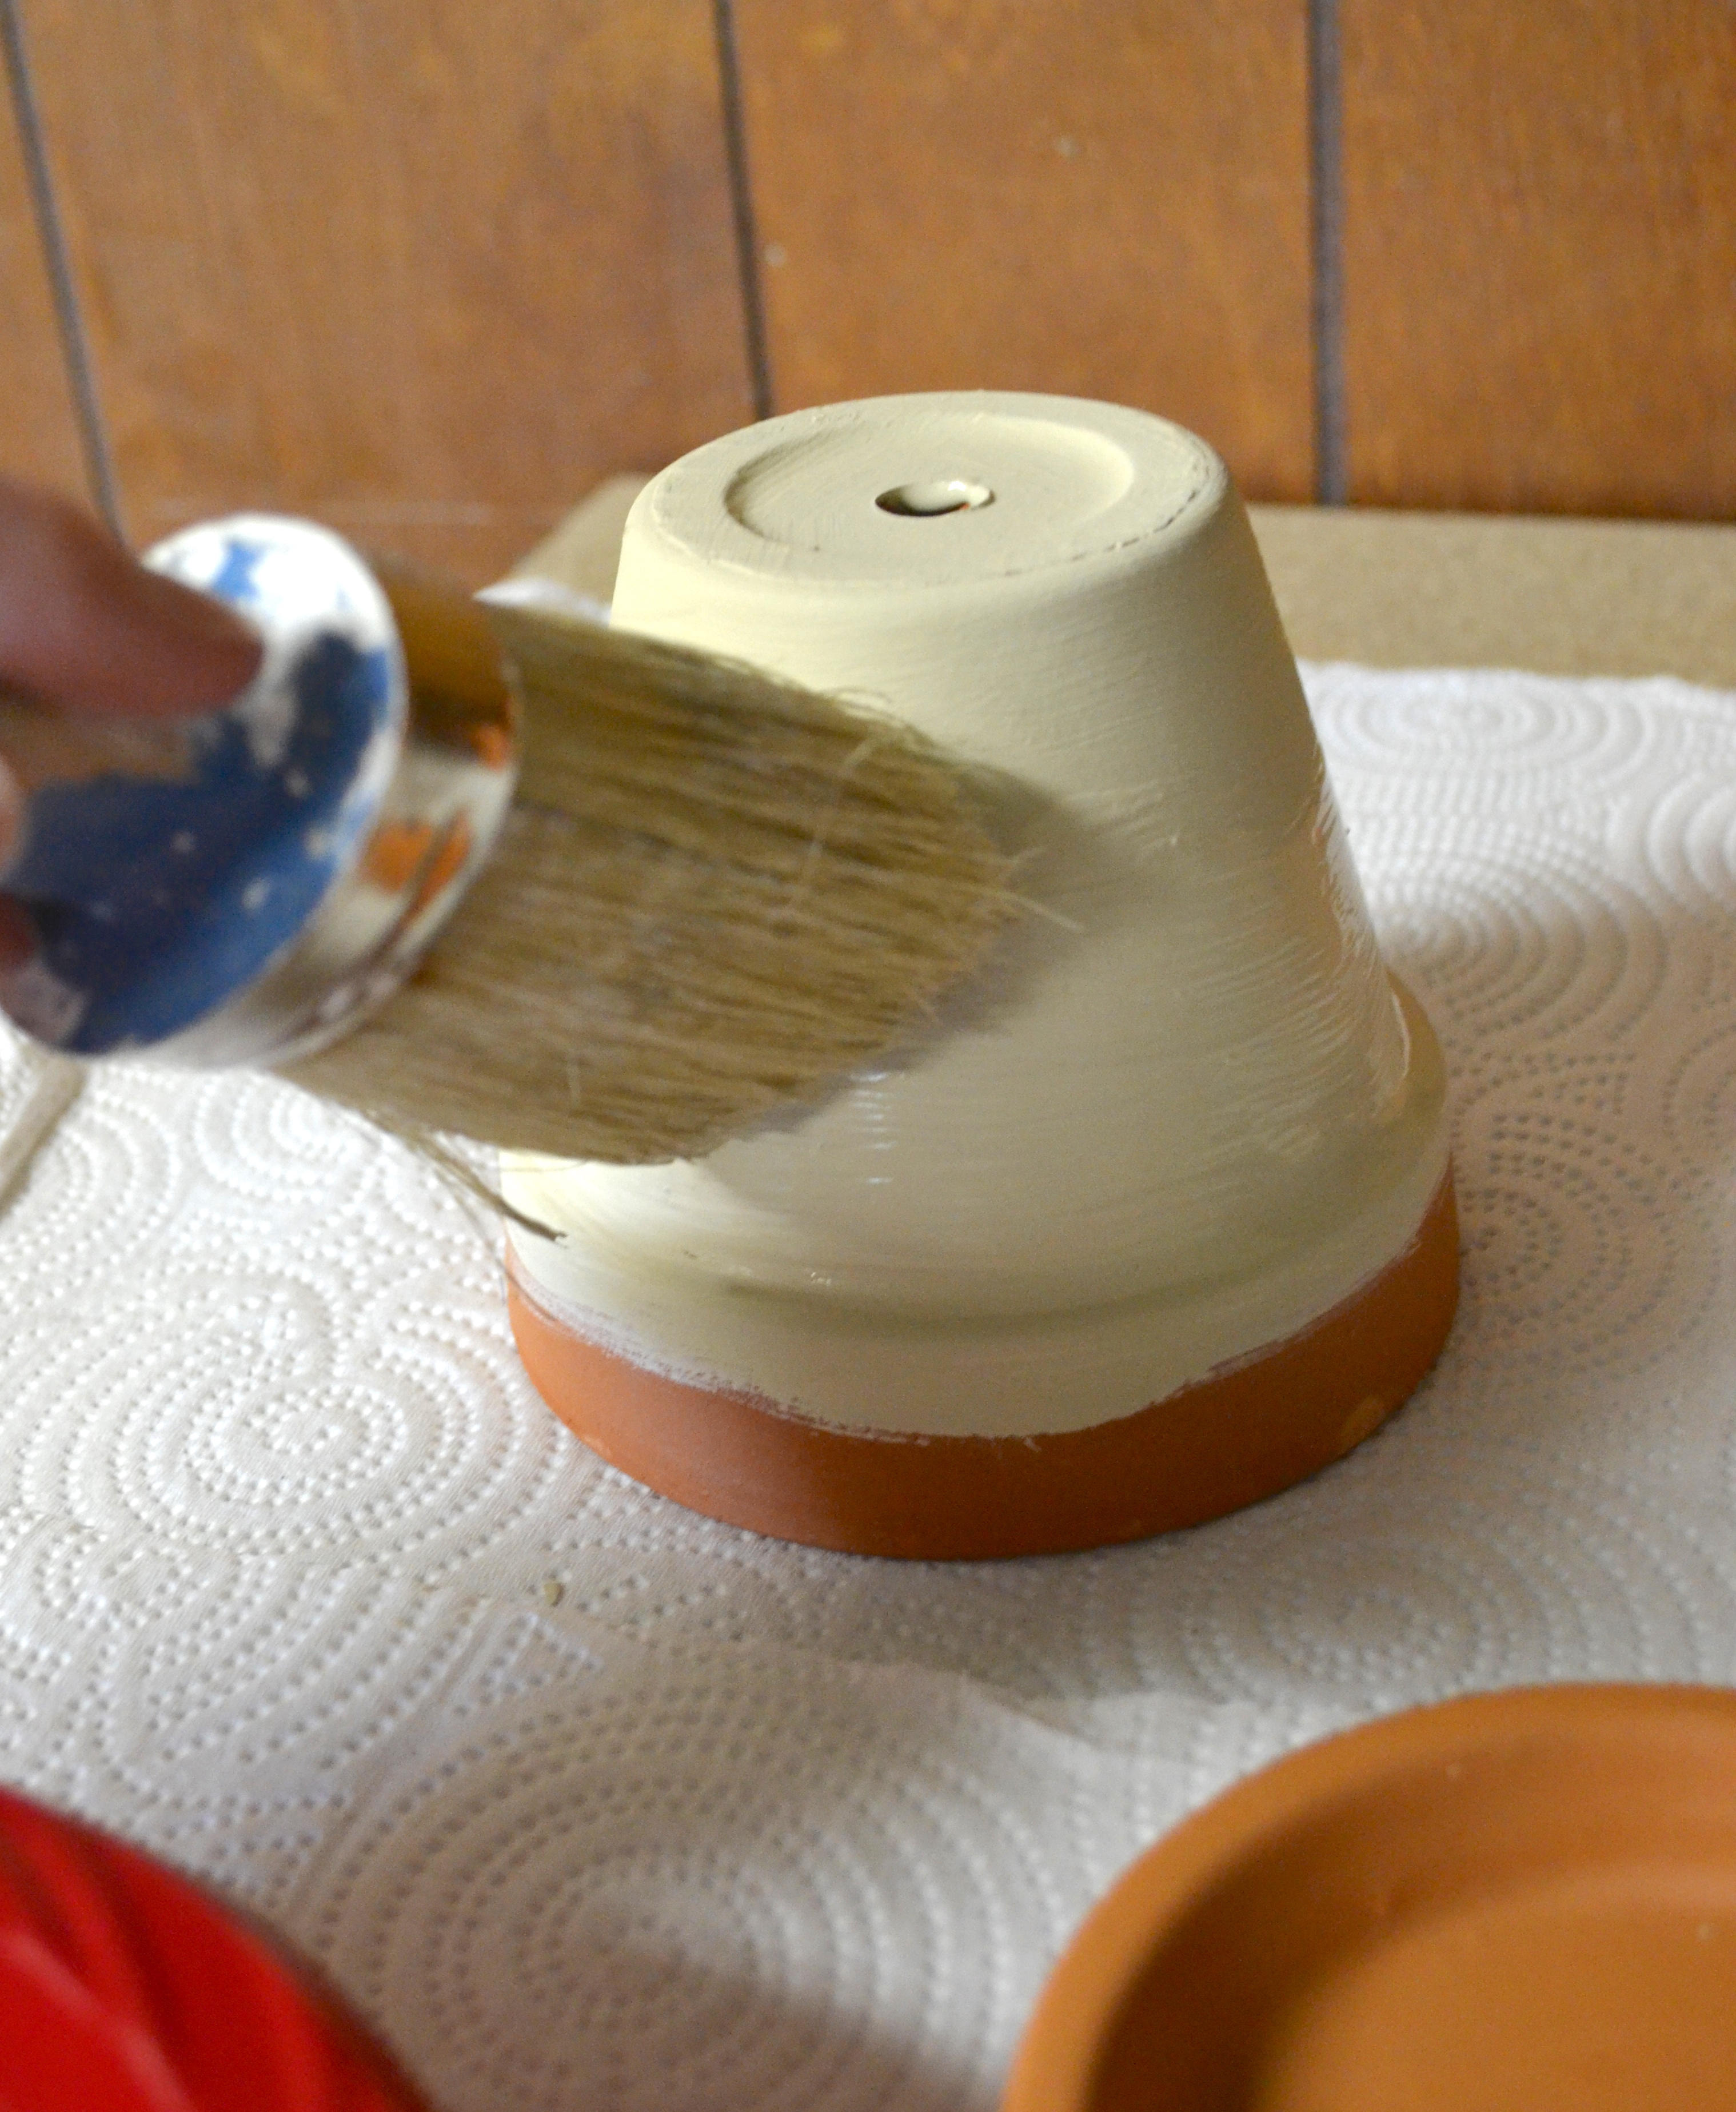
Next, spread out a few paper towels to protect your surface from paint. Paint the outside of each pot and one side of the tray.
Let dry about an hour.
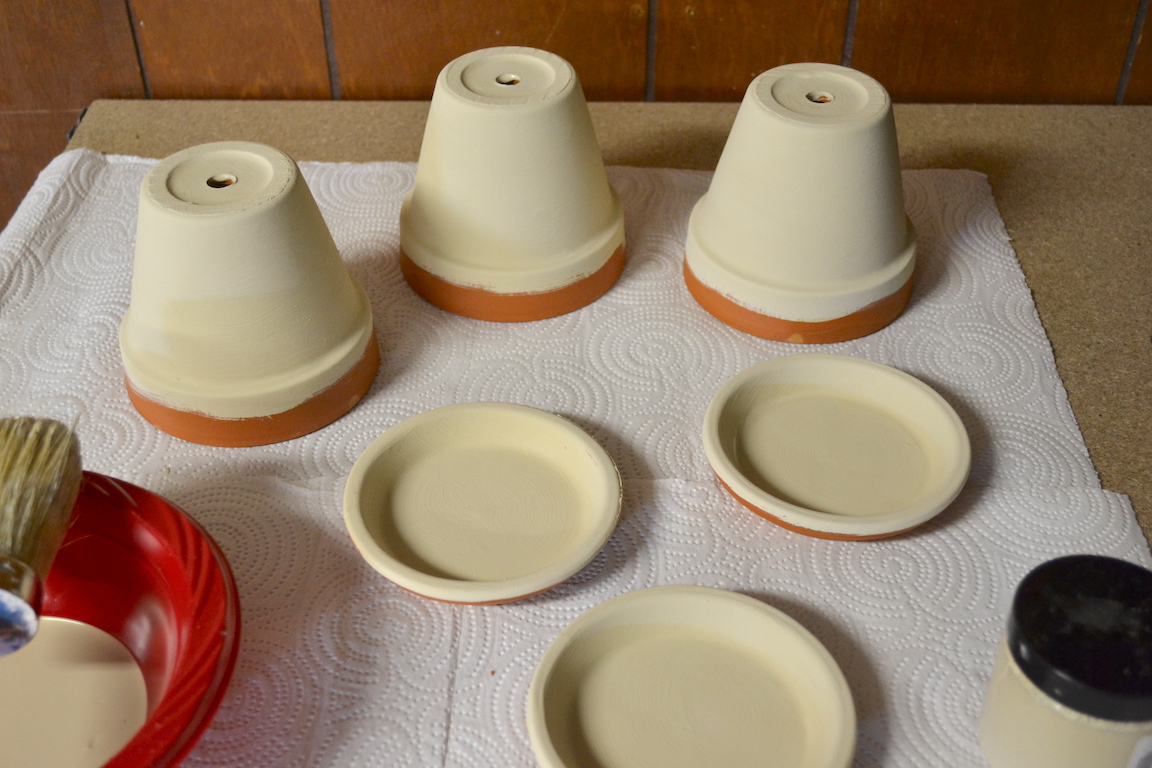
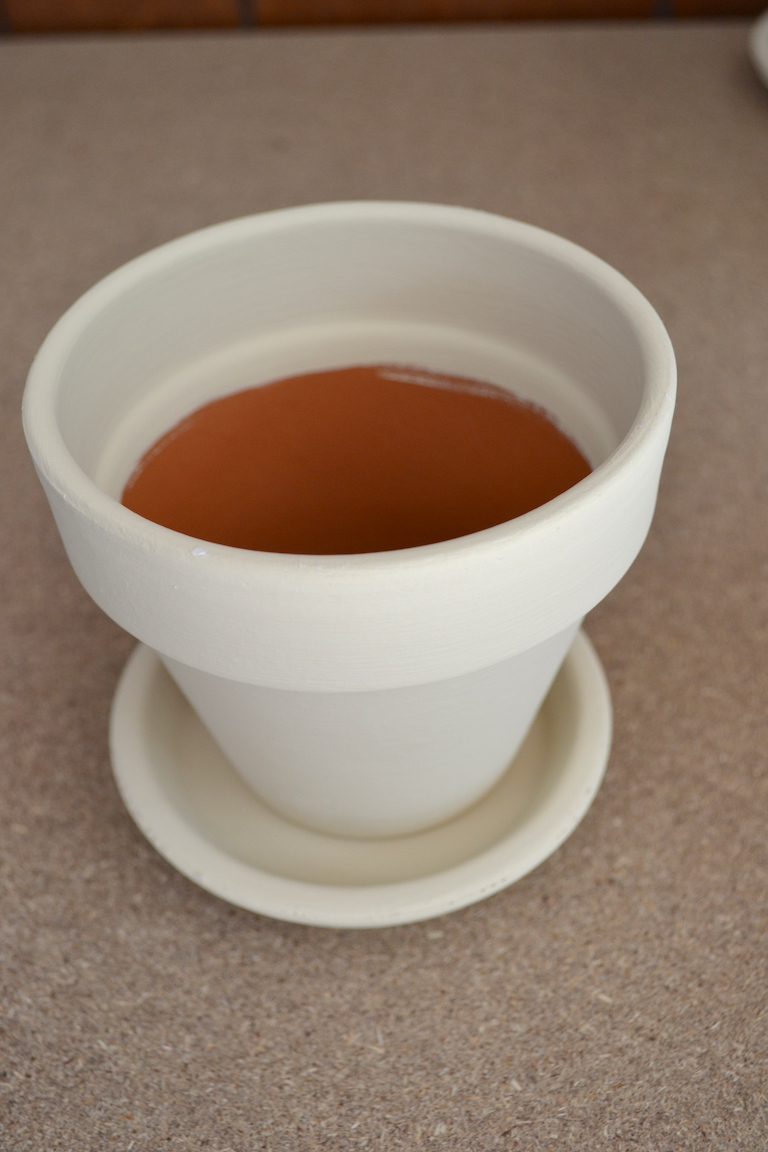
Next, paint the outside and inside rim of each pot and the other side of the trays. Let those dry for about an hour. The photo below is what mine looked like after it was dry.
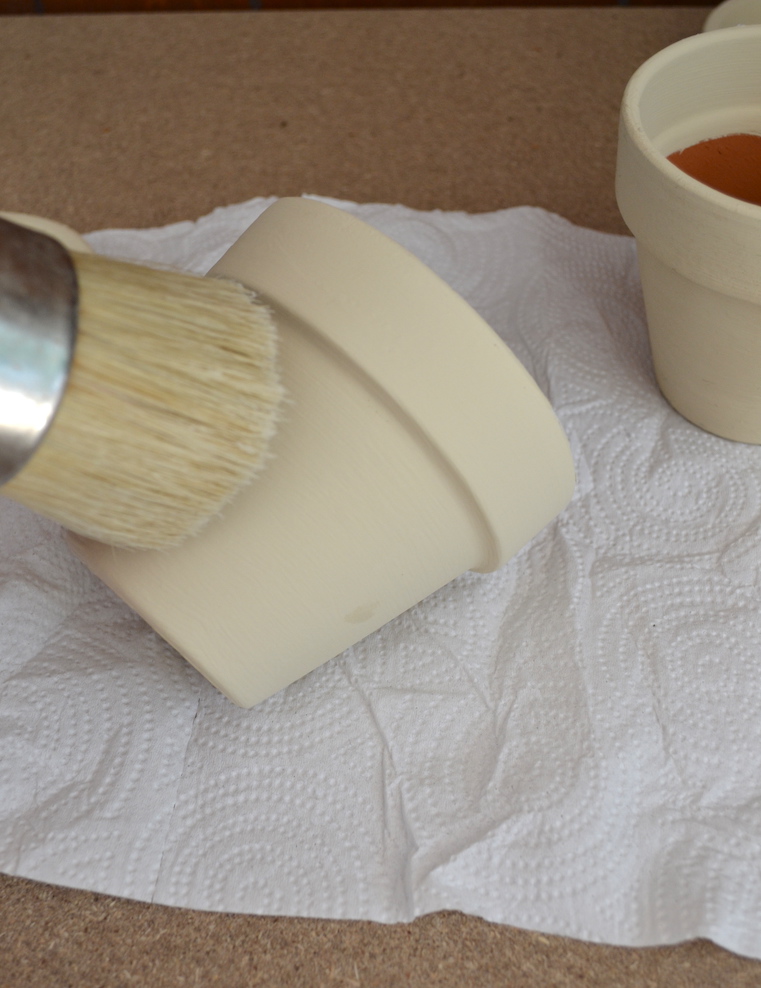
Now, you’ll need to put a coat of wax on the painted areas to seal the paint and protect it from water and scratches. Let the wax dry for about a couple of hours to make sure it’s sealed.
Now, it’s time to plant the succulents! Gather your supplies:
painted pots and trays
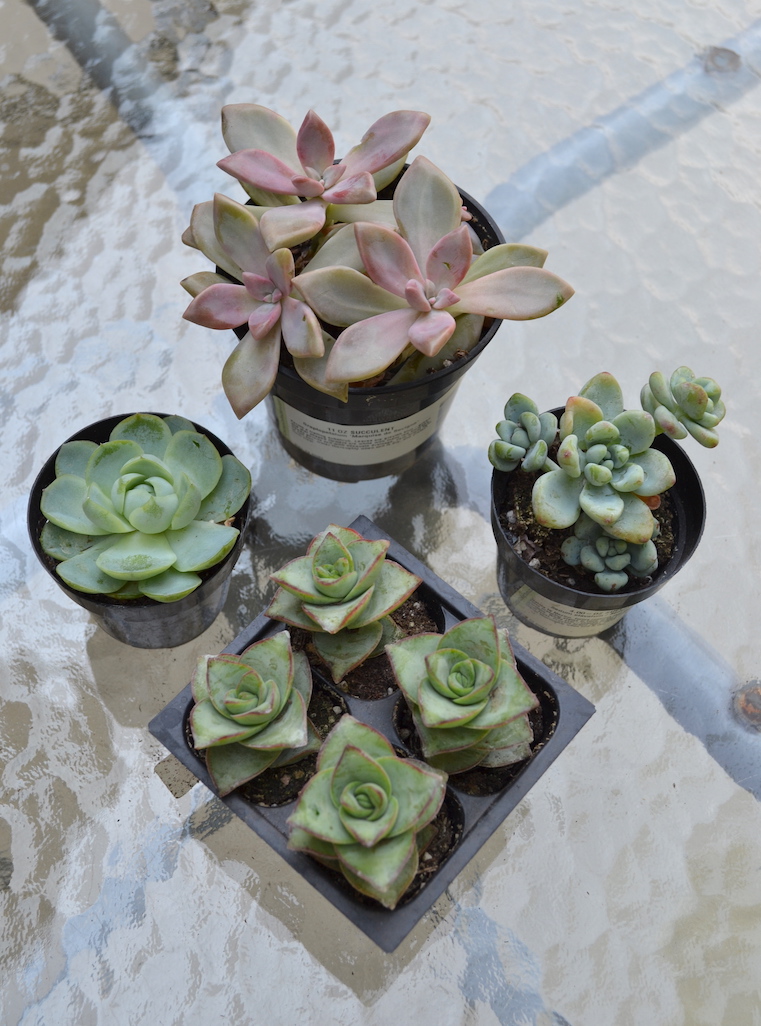
succulent plants (I bought mine from Lowe’s Home Improvement store) (I chose these varieties: Mexican Snowball, String Of Buttons, Sedum Clavatum & another one, not sure of the name)
Cactus potting soil (I used Miracle Grow brand)
pebble rocks

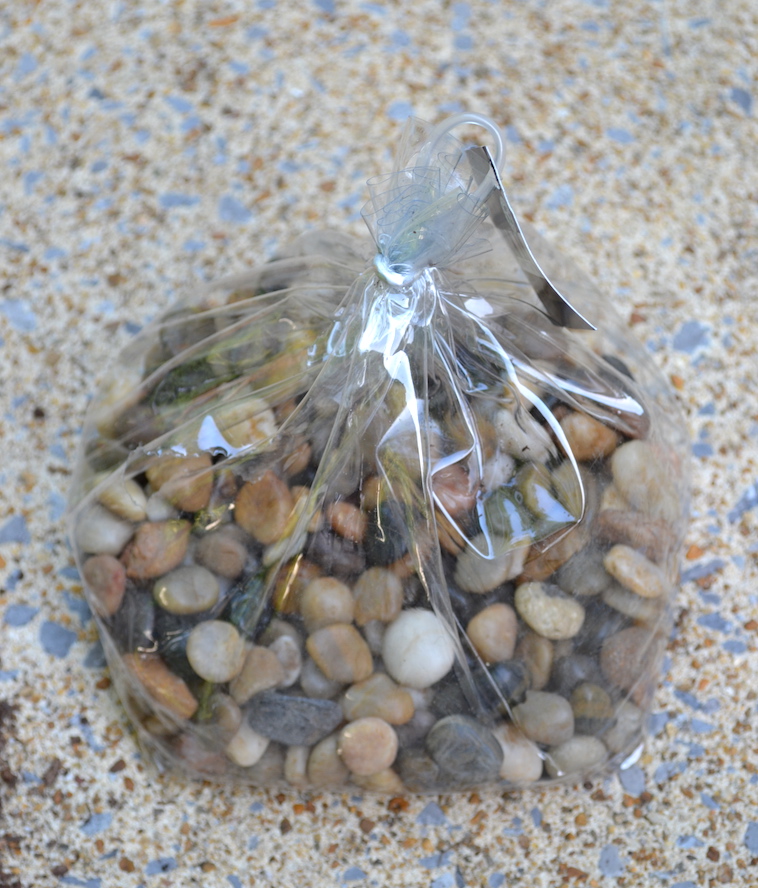
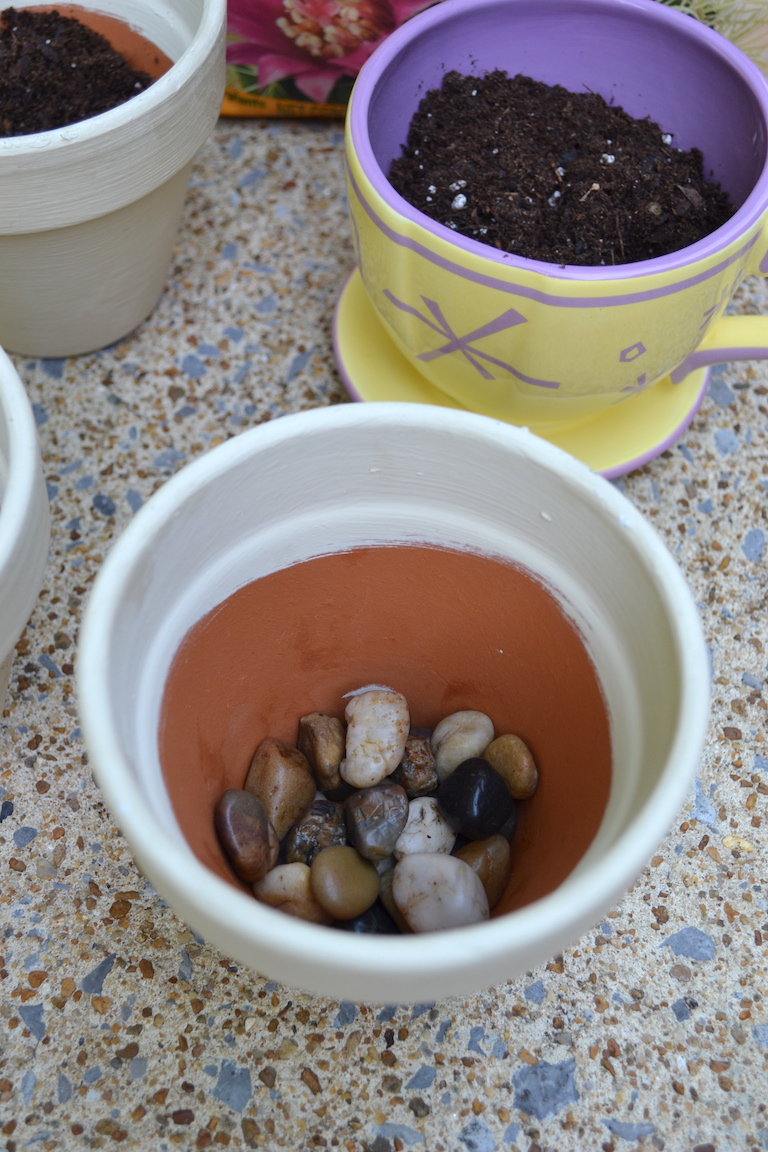
Place several of the rocks in the bottom of each pot covering about 1″ of the bottom. This is to allow drainage so the roots won’t sit in water.
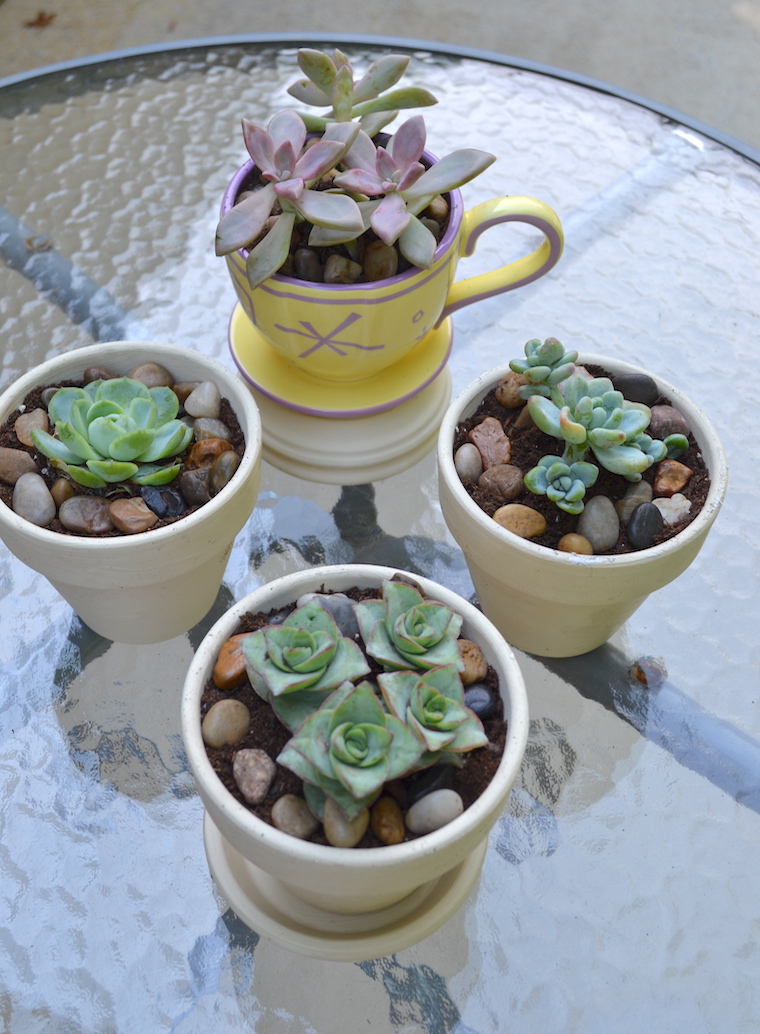
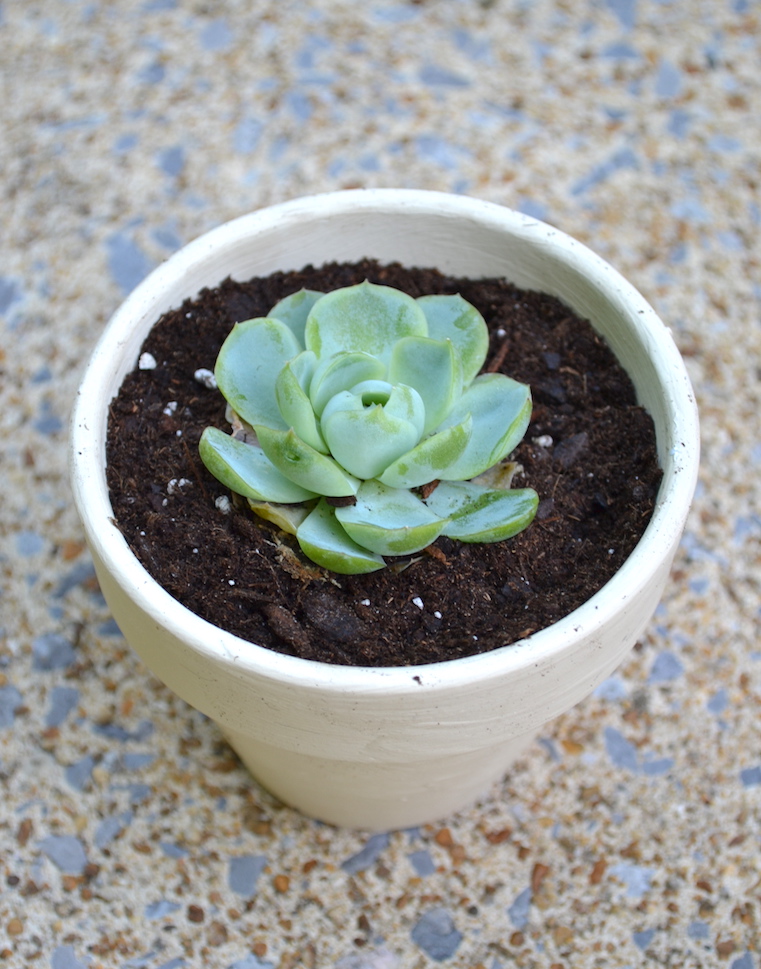
Plant the succulents in the pots and you’re done! I put a few rocks on the top for decoration, but you can leave them off.


Oh my goodness! I have been on the search for new pots for some plants for months…why did I never think to do this?! Thank you for the inspiration and for how cute I am sure my plants are soon to look!
I love these! I’ve really been wanting to try succulents with the hope I could keep from killing them! Thanks for the tips. Happy Friday!
Shelly||The Queen in Between
So cute! Love what you’ve done with the pots! Chalk paint is one of my favorites! I’m creating a “decorating with succulents” roundup post, let me know if it would ok to include these with a link back to your site. Thanks! Erin
What a lovely transformation of terra cotta pots. I’ve pinned this with a note to self that says “This is awesome–make soon!” I can imagine one of these pretty pots with a striking succulent making a perfect little hostess gift too! –Ginger
http://gingerwroot.com
Love your DIY! Thanks for sharing your tutorial.
Just stopping by to let you know that we Featured your awesome post at Funtastic Friday #83–hope you will stop by!
http://twochicksandamom.blogspot.com/2016/07/welcome-to-funtastic-friday-83-it-is.html?m=1
yours turned out sooo cute…now, i want to do it, too…I have a small jar of a blue chalk paint..how cute this would be in my dining room….
here from Rattlebridge